Wednesday 20 October 2010

Final Renders


I have produced two different style Renders. The first set has no extra lighting with the highlights brought out with the specular map. The second set of renders has a skylight that produces a much more natural looking render. 


Conclusions

This project has been by far the most difficult and challenging 3D model I have created. The hours and days working on this seemed to fly by. There was a great deal of frustration along the way, sometimes with the model itself sometimes with the tutorial video just 'skipping ahead' and not explaining parts but on reflection it makes us use our own knowledge to get around the problems. I think the strict reference lines that I had to stick to made it much more challenging to solve certain problems but I knew I had to keep to them in order to keep the head looking like mine. Once again however I have found myself with far more polygons within my model than I would have liked, which is something I will look to address in my next models.

Regardless of all that I am very happy with the final model. Because I have quite distinguishing features in my hair and glasses I think it will always help make the model look like me. I would have liked the head and face to be a little rounder, more Karl Pilkington esque, as currently it is a bit 'chiselled' in places. The way the hair and fur modifier and the material hair blends is a little unnatural and lets the model down a little but with the constant crashing that modifier introduced I was happy enough with the results to leave it.

I am really happy with the materials, especially the texture of the skin and the likeness of the features to my own. I always thought that the materials would make the model. On this occasion I was definitely correct. It is always good to learn a new technique and I really enjoyed the accuracy of this method and will definitely look to use it again in the future.

Now to concentrate on the Essex project...

Tuesday 19 October 2010

Almost there.....

I've now got to a point where the model & materials/textures is almost completed. I have applied the specular map to bring out the highlights in the skin and the bump map to create the skin texture. I have also added a hair and fur modifier to the model. I used this tutorial to learn the basics of the modifier. This caused 3DS Max to crash on my machine quite regularly so I was ensuring that I was saving after every step. Any more hair and I don't think my computer would have handled it, luckily I have a ridiculous haircut which meant I had only a strip to style and render.

I have a few things to modify and tweak before I consider the model finished. I have to adjust where the hair is starting at the top of the forehead which I will do by deselecting a few polygons from the top of the head. I have to make the blending of the ear to the head much less apparent. From afar this is not noticed a huge amount however up close it is much more noticeable.

I also need to create a material for the glasses and in particular create a glass material for the yet to be created lens. There are a few other areas I am not happy with such as some slight blurring over the right eye and the way the skin on the neck appears.

I will also experiment with a few different lights in order to create a final series of images. I was considering making a short video of a camera panning around the head however the hair and fur modifier dramatically increases render time so I am not yet sure I have enough time to complete it.


Materials

The materials part of any 3D model I always find the most rewarding. It can totally bring a 3D model to life and that is what I was looking to do to my model. I would be using the unwrap UVW modifier for the model. Firstly I separated the head from the ear and applied a checkerboard pattern to the model so that I could see what effects the Unwrap UVW modifier would have on the head. I then used the relax tool to edit the vertices in the uvw map. I used the pelt tool to get the same result with the ear. I had various overlapping faces that were rectified by moving the vertices so they were no longer overlapping. Sometimes 3DS Max would identify a supposed overlapping face even though it appeared it wasnt. Normally slightly moving connecting vertices fixed this.

This was a relatively painless process other than when I couldn't fully separate the second ear. For an unknown reason a group of polygons were welded together from both the ears. To overcome this I had to 'break' the vertices up and re-weld them together. Once my UVW map was finished I could then start working on the material creation using the reference photos.

This was the part I was most looking forward to, bringing my face to life so to speak. I used a variety of tool in photoshop including healing, spot healing, patch and clone to merge my segments of face together. I then subsequently created a bump map and specular highlights map from the different type of uvw map render.


I found the bump map way too harsh initially. So I went back into photoshop and blurred using the blur tool the soft skin areas such as the cheeks much more and sharpened the mouth, nose and eyes more with the sharpen tool. I went back and forth trying to get the balance just right.

I then created the specular highlight map to give the model its natural skin highlights concentrating on the oily parts of the skin.


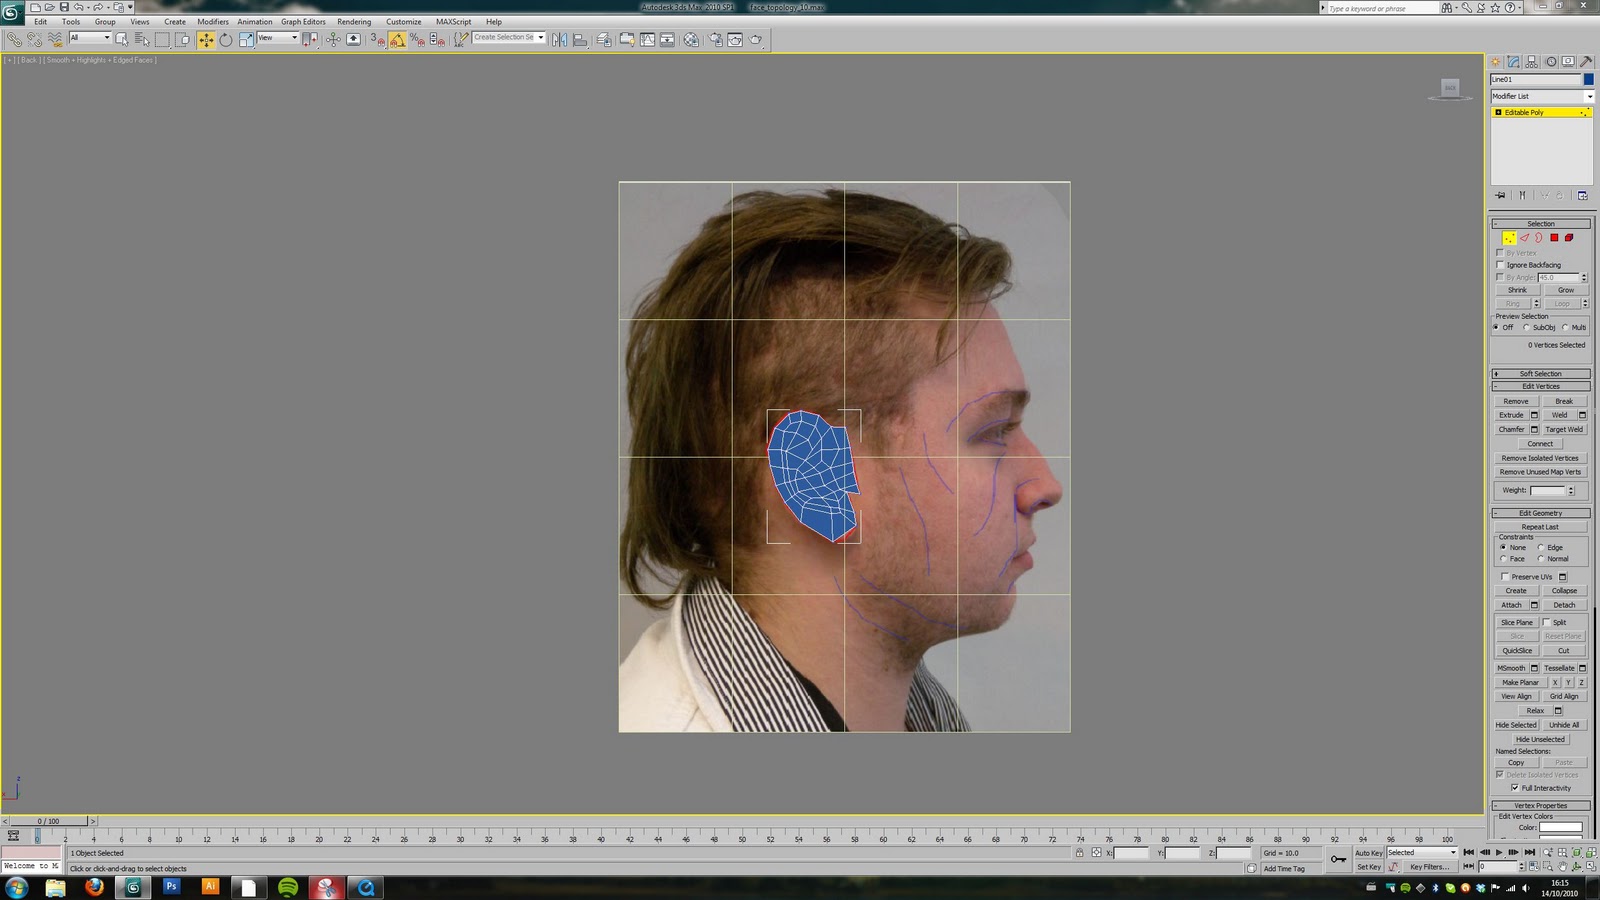
Enough versions? I have finally got into the habit of saving multiple versions of my work to be able to go back to any point!

The Ear

 Really good tutorial with a slightly different method of attaching the ear.

The ear was by far the most challenging part of the modeling so far. I will probably go as far as saying that it the most difficult 3D element I have ever produced. I started by drawing the topology lines on the reference plane as before and again traced over the boxes using splines. Using the same method as the face I welded and extruded the ear but this time was much more difficult. I found myself in perspective view the whole time trying to judge visually the way it should be. Frustratingly I found a few triangles had crept in whilst creating the ear. I decided to push on as I did not want to fall behind trying to make them perfect.


Once the ear was created to a point I was happy with I then took about the task of attaching it to the head. Again what I thought would be a simple task took considerable time. I could never get the ear quite how I wanted. Even after simplifying the back of the ear I still found it difficult to connect without bad geometry appearing. This was primarily because the ear ended up having considerably more polygons than I would have liked. The front of the ear where it connects to the side of the head was a particular problem point because the number of polygons was so different.  The closeness of the ear to the side of the face made the whole process much more difficult. 

Monday 11 October 2010

So Far

I have now got to the stage where all the main features of the model are created apart from the ears. I wanted to get to this stage as early as possible to leave plenty of time making those adjustments that will hopefully make the model actually look like me. I have also added the glasses to the model that I made separately.

I still have a lot of adjustments to make in the model particularly around the mouth and eyelids. Also the shape of the head needs adjustments as there are random bumps throughout. I now have the challenge of creating the dreaded ear which I will look to get completed as soon as possible so I can get on to the materials creation. Ive always believed that the textures make or break a 3D model so I want as much time as possible to get it as good as it can.

Progress 3

Next I had the task of creating the head that i would attach to the face. To do this I created a sphere and resized it to the correct size using my reference planes. Once I had it in the correct position I reduced the number of segments to reduce the complexity of the object and to help match up with the vertices of the face. I attached it by snapping and welding the corresponding vertices. I used soft selection when snapping the vertices so that the shape of the head was kept natural looking. That process was relatively straight forward however a few of the vertices on the head were going off at a bad angle but I decided I would address this at a later date.


I also created the neck and shoulders by further extending the head polygons. I took another photo of my upper chest and used it as a visual reference when making the shape of the collarbones and neck muscles. Initially the neck was far too small meaning my head was far too close to my shoulders. To rectify this I extended the vertices around the neck, moving the shoulders down. I also noticed that the back of the shoulders were not far enough back which was then changed. 
I have also decided I am going to model my glasses. They are simple to create and will add to the reality of the model. I barely recognize myself without my glasses on so I think they are pretty crucial to the models success.

I took a front and side reference photo of my glasses and used the images on reference planes. I started with a box and used 'connect edges' to mark out the rough area that was the frame & not the lens. I then deleted the polygons where the lens sites and extruded the polygons for the arms incorporating a bend towards the end. I again applied a symmetry modifier rather than modeling both sides. I will look to include a lens but I will be leaving that until the end.


Sunday 10 October 2010

Progress 2

Once I had the facial structure in relatively the correct position I then moved onto constructing the nose and mouth. To create the new polygons I shift-clicked a group of edges and extended then inwards. I then turned on Vertex snapping and connected them up. Once I was happy with their positioning I welded the vertices together. I then moved the central polygons inwards to create the cavity. I repeated the technique for the lips.

When it came to creating the eyelids I decded to insert an eyeball first which would allow me to better position the vertices along the eyelid. The eyeball is simply a sphere with a eye bitmap image on it.

Wednesday 6 October 2010

Progress Update 1

Before I finished my third and final attempt of creating the topology lines I decided to push ahead and attempt the pulling out of the vertices in an attempt to learn the technique. I always like to have a practice run the first timeI try a new technique because there will always be problems along the way. Hopefully by doing it this way I can eliminate some the first time through.

Once I had my topology images I set up the reference planes in Max.
  
Next was the process of creating the mesh by drawing over the quads using the line tool in Max. And then converting one to a edit poly then attaching the rest.
I then selected groups of vertexes and extended them along the X axis in the side view to the proportions of the face.
Aware of the problem with the nose I knew I was going to have to start again after seeking advice with Richard. However now I know the process I am happy I can quickly re-create my mesh once I have sorted out my topology. Other than the nose however I am happy with how the mesh is looking. I will now make some adjustments to the reference image and quickly get back to this point.

Monday 4 October 2010

Preperation of photographs and Topology Lines


Work commenced after the initial photograph had been taken. Because all photographs have a natural lens distortion, a lens correction had to be applied within photoshop to ensure that the images lined up. I found myself having to do this a few times as I found features didn't quite match up.  Once this was finished I drew on the main facial features with a thick blue brush in photoshop. This would act as a guide for the topology lines.


I found drawing the topology lines quite frustrating within photoshop. There is little control with raster graphics meaning one i drew a line i could not modify it in any easy way without delting it. Therefore I decided to use Illustrator which gave me much greater control and neatness when drawing the topology lines. I found the nose area particularly difficult to get a nice flow of polygons. After 3 attempts I finally had an image I was happy with and that I could use as my reference plane in Max. 


Sunday 3 October 2010

Reaction to the Brief

The brief for the first part of Virtual Environments module is to create a 3D version of my own face and head using the spline modelling technique. As with all new techniques it will no doubt prove to be a challenge however I always enjoy learning new ways to produce models. Looking at a picture of my own face for 5 weeks however will have its obvious annoyances, no doubt I wont look in a mirror for a few weeks after the module is completed.

Update: Having watched the first few videos and skimming through the later ones this project is no small task. There is a very high level of detail within the model and doing many of the processes for the first time will mean many mistakes and problems. The sooner I get started with drawing the topology lines the more time I have to hopefully overcome these inevitable problems.